
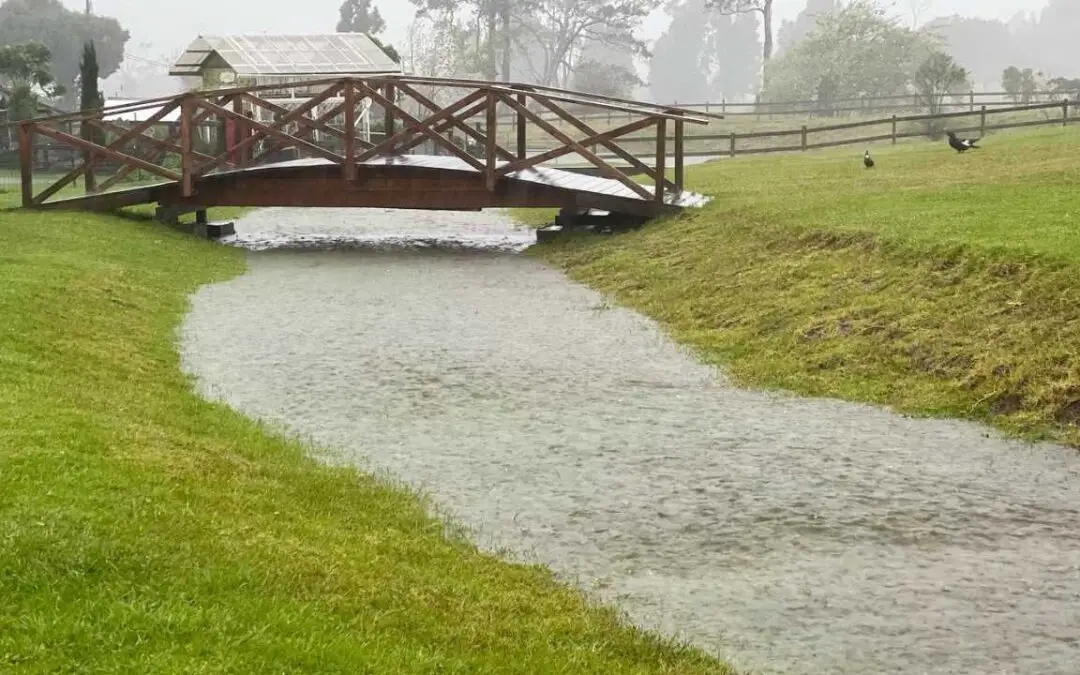
Image Courtesy The Lili House Farm
If you get plenty of rain year-round, as we do in Hawai’i, then you may think that swales aren’t that useful for your homestead. But, when swales are properly designed, they perform an important duty of not only collecting but also distributing water in the surrounding environment.
In wet climates, swales can slow soil loss, spread water flows over a large area to slow it down or direct water to where you want it to go, without damaging your landscape in the process.
Whenever I talk to people on this subject, they can’t believe it. “Who in their right mind wants to hold MORE water in our wet climate?” Read on and it might just be you.
Dry Climate vs Wet Climate Swales: What’s The Difference?
Dry Climate Swales
Dry climate swales are designed to collect water and encourage it to slowly drain into the surrounding landscape, to help during dry spells. They are an effective, natural way to prevent erosion and save rainwater for drought-susceptible areas.
Dry climate swales should be constructed along the contour of the landscape to naturally pool after a heavy rain and act as a type of small pond. Over time, the water will slowly incorporate into the area and provide necessary water for the roots of nearby plants, especially trees or other plants with deep roots.
Wet Climate Swales
Wet climate swales perform a similar function of collecting water, but for the purpose of preventing soil erosion, reducing flooding and spreading water more evenly across a landscape.
Wet climate swales reserve the water until the soil is able to properly absorb it. They direct the water to where you want it to go, preventing areas from becoming water-logged, or helping maintain marshy areas without causing flooding (this is important for growing kalo or bananas that require a lot of water).
It is essential that you incorporate trees with wet climate swales because trees, with their deep roots, make excellent use of the water in swales, soaking it all up more quickly than swales are able to do alone.
Further, to prevent soil loss, tree roots also play an important role in holding the soil together and preventing it from loosening as it becomes saturated.
You can grow many types of trees, including macadamia nut trees, fruit trees or even bamboo around a swale to help hold that soil just a little bit better.
How to Build a Swale
Building a swale is pretty easy – you just need a shovel and some sort of levelling device.
But before you get to work digging away at your back field, you need to know where to build a swale.
Watch first, Build Later
If you’ve just purchased your property, don’t start building swales – wait a year, or even two.
Pay attention to where the water naturally flows during a rainstorm, look for marshy areas and consider what plants or trees you want to establish in each area.
The key is to build along the contour of your landscape, and that can be a bit tricky. Swales must run level and be dug along the horizontal lines of your property.
Marking The Contour Lines
To lay out a swale, you can use two tools to get the job, either a bunyip (or water level) or a rotary laser level.
I like the laser level for big jobs because it gets the job done really quick and theyʻre pretty simple to use.
Find a spot where water flows during a rainstorm. Set up your laser level a few feet away and use the target to find the level of your first swale marker.
Once the target is calibrated to the laser level, you can move across the landscape pounding in stakes every 5ʻ or so every time the laser level matches up with the target, it is that easy.
Make the Swales Shallow
As you build your swale, keep in mind it is a shallow, flat-bottomed ditch. That’s it. When I create a swale, I keep reminding myself that it should be shallow. I’m not making a lake, I’m collecting rainwater to spread into my ground slowly.
I like to dig a shallow trench and put the soil that I dig out onto the downhill side, building up the berm in the process. Instead of abrupt, sharp edges, round out any trenches or berms. Make your swales look natural. The idea is to hold rainwater so design them to do just that.
Plant trees
After constructing your swales, itʻs time to get them planted. I like to mix in deep rooted trees and shallow rooted shrubs and groundcovers as a way to hold the soil and take advantage of the new found water source.
Remember, trees are essential for use together with wet climate swales. Without the deep roots of trees helping to take up the water of a swale, you risk creating a mini-flood plain.
Secondly, the roots of trees help secure the deeper layers of soil together and help the water to move throughout the landscape, as the swale is supposed to do.
When Not To Use A Swale
I must emphasize this point: swales are not appropriate for steep property. If you attempt to build a swale on a steep incline, you risk damaging your property, causing erosion, slides or even collapsing contours of your hills.
If your land has more than a 15 degree slope, look for other rainwater catchment systems apart
from swales.
Swales are great for both dry and wet climates. They can protect against droughts or flooding, it’s all about where you build them.
The most important things to keep in mind, especially for wet climate swales are to build within the contour lines of your property and to utilize trees to prevent damage to your landscape.