
Let’s talk about growing worms. If you have never thought of worm farming before, don’t be disgusted or intimidated by these little critters – they are actually very useful, especially for a homestead!
Worm farms, or vermicomposting, convert leftover food scraps into nutritious liquid fertilizer and rich, fertile compost. Red wiggler worms are often housed in preconstructed “worm” compost bins where the decomposition process occurs. One pound of worms can consume up to 1 lb of food per day.
Any homesteader who is serious about growing their own fruits and vegetables should consider worm farming. It has to be the easiest way to make a BIG difference in the health and vitality of your garden. I instantly saw the difference once I started using worm compost in my garden.
Related: The most classic Worm Composter is The Worm Factory. I have used these throughout the years. They work great. Put food in, worm castings come out, what else could you want?
The Worm Factory 360
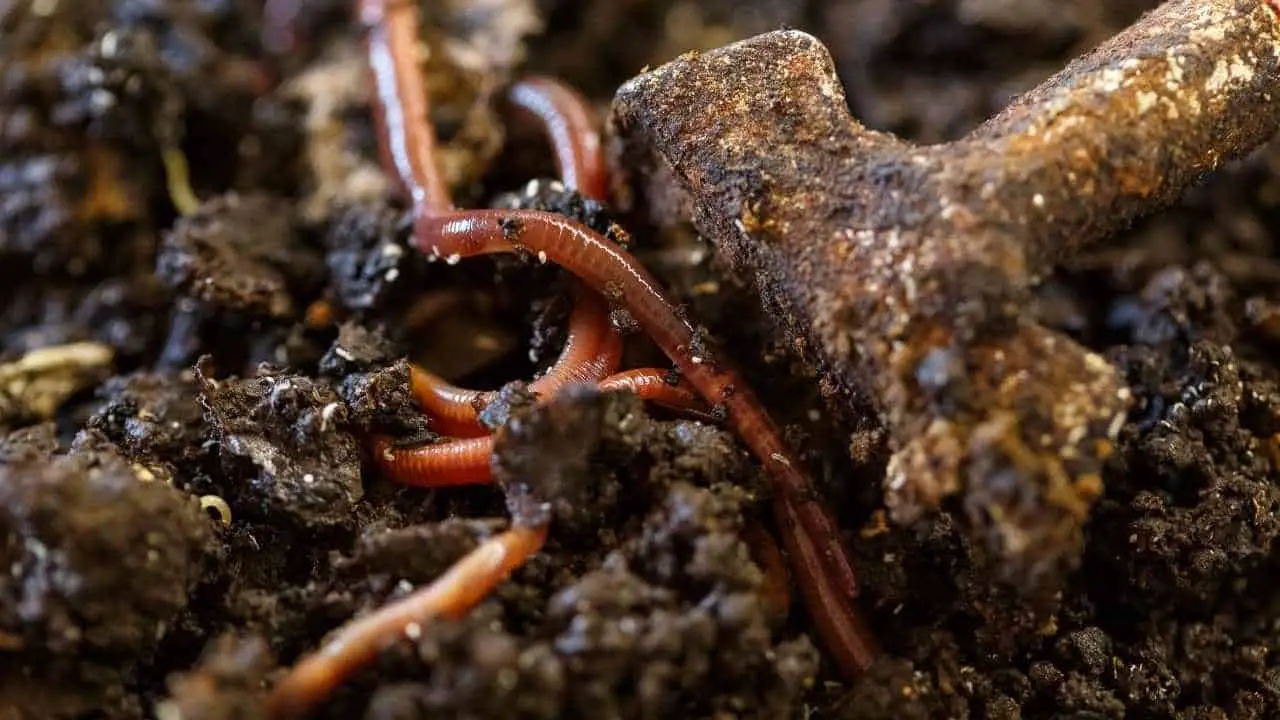
Worm Farming- The Best Way To Build Healthy Soil
Worms do several important things to improve soil. As worms move in the soil, they aerate it. This is important for allowing oxygen for the roots to ‘breathe’ and increases plant growth. The waste they create – aka worm compost – is awesome for your garden.
When we move these worms out of the soil and into constructed compost bins, we concentrate their efforts to not only take care of our kitchen compost, but to kick start their soil production into overdrive.
While these little guys can take your home garden to the next level, you should know that not all worms are created equal.
If you really want to start worm farming, learn which types of worms to start with and how to properly take care of them for the best results.
Best Type of Worms For Vermicompost
The best type of worm for your worm farm are red worms, or red wigglers (Eisenia fetida) because these guys are great at composting. They have shown that they can eat their own weight in a day! That means faster composting, leading to quicker results for you.
You need A LOT of worms for a worm farm. One hundred worms is not nearly enough. You are going to need more like 1k -2k worms per person!
If you want to start with a few hundred at first, that is okay, because they will reproduce pretty quickly (3 months), getting you to their desired population. You’ll just have to feed them a little less until their numbers are up.
Red wigglers can be mail ordered online, but if you live in a place like Hawaii, it’s not so easy.
Worms cannot be shipped here so when I started my worm compost system, I just laid some cardboard down on the ground and after a couple weeks I was able to find hundreds of worms underneath. I just scooped them up and added them to my bin. This probably work better in a moist environment.
The Best Things To Feed Worms
The majority of scraps you give your worm farm should be raw, unprocessed foods. The bulk of their ‘diet’ should be things like:
- Leftover vegetable scraps (think potato peels, bits of carrots and tomato)
- Leftover fruit scraps (banana peels, apple cores). But NOT citrus fruits.
- Egg shells
- Tea and Coffee grounds
- Small scraps of paper (don’t overdo it on the paper, though! Just a bit is plenty for a worm farm. And paper should not be glossy)
- Hair. Yes! Human hair. Why? Because it’s full of nitrogen.
Avoid feeding worms:
- Meat
- Fat and oil
- Dairy products
- Citrus fruits (grapefruit, oranges, lemons, limes, etc)
- Spicy foods
- Excessive amounts of onions, garlic of the skins of either (a little bit is okay)
Also, avoid giving your worm farm processed food. Processed foods are heavy on the chemicals and worms will avoid eating them (makes you wonder why we should eat it if a worm doesn’t want it, hmm?), and instead of becoming compost it will rot in your bin and make a nasty smell.
Even bread and pasta fall into this category, despite that they are not heavily processed. Be careful of the amount of processed wheat scraps you give your worm farm. If you want to be conscious of your waste, consider giving bread scraps to your backyard birds, instead.
Related: Can You Put Sawdust In A WormBin?
Worms For Fertile Soil
What makes worm compost so good for gardens? Because it contains vital nutrients necessary for growing healthy plants, as well as microorganisms that make for ideal soil. The nutrients left behind by worm waste are full of phosphorus, potassium, nitrogen and magnesium.
Ever seen tips for treating nutrient deficiencies in plants? Plants with yellow leaves might be low on nitrogen, and phosphorus deficiencies can be identified as dark green leaves with purple edges.
Instead of treating plants for these symptoms, give your garden healthy soil full of nutrients from the start with vermicompost that is full of all the good things healthy plants need. If you wanted to know the secret to having a green thumb, you just got it.
Where To Keep Your Worm Farm
Now that you know the type of worms and what to feed them, let’s talk about starting your worm farm.
I get it, worms are not the coolest ‘pets’ to keep on display in your living room, but, good news for us tropical-dwellers – we can keep our worm farms outdoors, even right in the garden! Pick a location that gets a decent amount of shade and won’t get drenched in heavy rain.
Worms need a warm (but not too hot) environment. If you live somewhere that has harsh, cold winters, you will need to bring your worms indoors for the cold season. An attached garage, laundry room, or a large mudroom all make great options for setting up your worm farm.
It is important to consider that your worms should be fed regularly, so be sure to place the bin somewhat close to areas you frequent so they won’t be neglected.
Different Worm Farm Designs
The basic premise for a worm farm has three-layers: (1) the base layer or the ‘toilet’ where the worm pee and excess liquid gathers; (2) the middle layer, where the worms live and excrete all that “Black Gold”; (3) top layer, where you put food scraps and cover with a lid.
| Top Layer – food scraps |
| Middle Layer – worms live and reproduce – Black Gold – |
| – – – – – – – – – – – – – – – – – – – – – – – – – – – – – – – – – – – – – – – – – – – – – – – – – – – – – – – – – – – – – – – – – – – Bottom Layer Worm pee – great for your garden! Try to save this. |
Some worm farms use a strong mesh wire (or the material used in window screens) between the middle layer, as a barrier between worms and the worm pee. Other designs have the pee naturally drain through holes into a collection bucket below.
Worm farm designs can be as simple as two strong bins stacked together: just drill a few air holes on the sides, more holes in the bottom to allow the worm pee to drain out and be collected underneath.
Other designs ideas:
- Stacked wooden boxes with a bucket underneath to catch worm pee
- Repurposed bathtub lifted up on blocks, or another type of stand (just use a shallow bin below the drain to catch the worm pee),
- Large terra-cota planter pots with drainage holes,
- Large garbage bin with holes (or a tap) in the bottom for worm pee to drain out
My Favorite Worm Farm That You Can Buy
If you would rather purchase a pre-made worm farm than build your own, there are two types I recommend: stacking plastic trays or a worm bag. I have used both of these methods and find them to be pretty user friendly.
I would like to point out that between the two, the heavy weight of a full tray on the Worm Factory 360 is a big drawback. While it is not as pretty, I like how easy it is to harvest the finished compost with the Urban Worm Bag.
Capacity: 12.5 lbs in each tray. Includes 4 trays (50 lbs total)
This is a basic and simple worm farm with plastic trays. It is the most common commercially available worm farm on the market.
What I like about the Worm Factory’s design is that each time you harvest the compost from one layer, you can easily start a new fresh food layer with the empty tray. It’s easy to set up and comes with everything you need to get started on your worm farm.
The kit can seem expensive ($130), but remember that it comes with lots of extras: you get the stacking trays, bedding, tiny rake, rock dust (extra nutrients), a worm ladder to help your critters climb to other layers. Also, inside of the lid is a reference guide to help you.I really like this instead of a brochure because it’s nearly impossible to lose the lid!
Finally, if you want to further grow your worm farm, you can easily buy additional trays to expand the system to six trays (it comes with four).
Capacity: Approximately 160 lbs (based on 40 lbs per cubic foot of compost)
Admittedly, it’s not as attractive as a stacking tray system, but this is cleverly designed and very user-friendly. The Worm Bag offers 4 feet of space for compost, and can hold up to eight pounds of worms.
The bottom completely opens up, dropping your beautiful compost into a bucket or wheelbarrow placed underneath. You do not need to ‘dig out’ worms from the compost with the Worm Bag. It’s the easiest of all to set up, and is a breeze to harvest compost from.
A note of caution: if you’re keeping this outdoors, make sure it cannot be accessed by other animals (raccoons, mice) that may want to get at the food scraps. The cloth material of the bag doesn’t provide much of a barrier.
More Tips for your Worm Farm
- You will need worm bedding. You can purchase worm bedding, or create your own out of composted soil or damp, shredded newspaper to start your worms off. This goes in the ‘middle layer’.
- Cover the top with a “blanket” to create an environment similar to underground: think dark and retaining moisture. Several layers of newspaper,wet cardboard, an old T-shirt or burlap sack could all do the trick and make your worms feel completely at home.
- After you feed your worms, cover the food scraps with soil or newspaper or a lid. This will prevent other insects from getting to the food.
- Your worm bin should not have a bad odor. The food scraps you give your worms should be composted and eaten – not rotting. If they are rotting, smelling bad or attracting other insects, you are giving too much food, or the wrong type of food to your worms.
- Cut food scraps into small pieces to make it easier for your worms to eat up.
- Dilute the worm pee before using it in your garden. Ratio of worm pee to water is 1:7, or 3 oz worm pee to 21 oz of water.
How Often To Check On Your Worm farm

I check in on my worms as often as I feed them, which is about once a week, however worms can go as long as four weeks without fresh food scraps (but you won’t get compost as quickly if you wait four weeks before supplying food).
Don’t add more food scraps until you see the previous ones have been eaten. If you see one or two items remaining, remove them and replace with fresh food scraps (maybe they just didn’t like those veggie peels for some reason).
It is at feeding time that I check whether or not I am feeding too much, if there are too many other insects around and whether or not any other issues may be present.
Related: Worm Composting: Hawaiiʻs Answer To Fertility In The Garden
How Long Does It Take For The Worm Compost To Be Ready To Use?
3 months. That’s how long you should wait for your first harvest of ‘Black Gold’ from your worm farm. After that initial harvest, you should be able to collect more frequently, such as every six weeks, because the worms will have reproduced – which means more worms are working to create compost.
Harvest Compost on a Rainy Day
Ever notice that the time you’re likely to see worms on top of the soil (or on the sidewalk) is after a rain? That’s because the barometric pressure drops when it rains, and draws worms to the surface of the soil (they don’t want to drown if the soil becomes too saturated).
Use Mother Nature to your advantage here and harvest your compost on a rainy day, when your worms will naturally be at the top of their bedding, making it easy for you to access your Black Gold without having to pick out lots of critters.
Worm Farming for Kids
Many kids really enjoy worm farming. It’s a great way to teach them about agriculture and natural science, all while taking the lead to feed the worms kitchen scraps. Because worms only need to eat approximately once a week, it also is a great way to slowly introduce responsibilities to younger kids.
If you want to include your kids in maintaining a sustainable lifestyle which emphasizes composting and growing your own foods, a worm farm can be a great way to get them excited and involved.
If you never considered worm farming before – it’s time you give it a try!
Worms are natural composters and create the most fertile “Black Gold” which works wonders in your garden. Worm farming is also a no-brainer option for composting kitchen scraps and reducing your home’s overall waste.
Homesteadinhawaii.com is a participant in the Amazon Services LLC Associates Program, an affiliate advertising program designed to provide a means for sites to earn advertising fees by advertising and linking to Amazon.com. This site also participates in other affiliate programs and is compensated for referring traffic and business to these companies.