
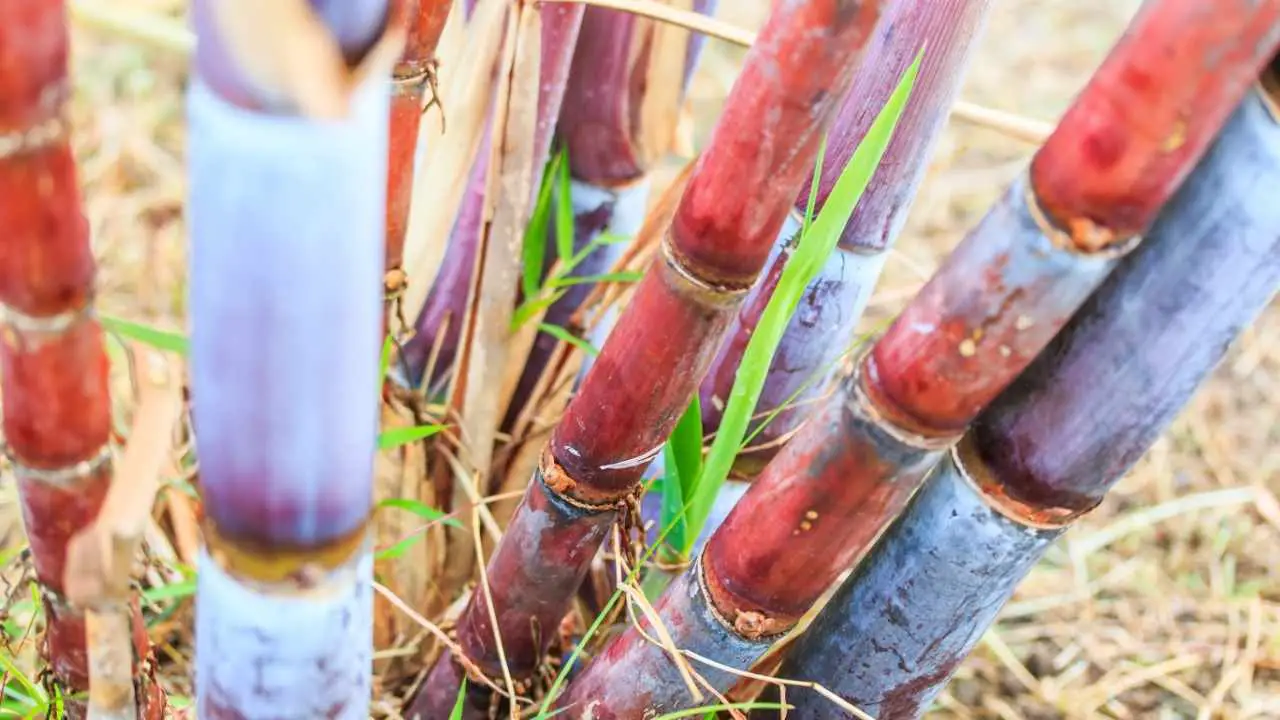
Sugarcane is not grown commercially in Hawai’i anymore, but you can still grow your own at home. It doesnʻt take much, I have mine growing in a little 5×5 corner of my yard and it produces plenty.
Sugarcane is ready to harvest from December thru March, 12 – 18 months after initial planting, when the stalks turn from a vibrant green to a pale green, then slightly yellow. Don’t wait for the cane to begin turning a light brown, because then you risk it becoming dried out and less sweet.
Once harvested, you can process it into cane juice, cane syrup and of course, sugar! What a great thing to have growing in your own backyard.
 1")
How to Responsibly Harvest Sugar Cane For Future Growth
Harvesting sugar cane by hand can require some effort, but when you taste your own sugary syrup, or cane juice, it is completely worth it!
This is a far cry from the way commercial sugar growers would harvest sugar. Usually, it involves burning fields prior to harvest, emitting tons of carbon in the process.
Sugarcane by-product would also be routinely dumped in waterways, destroying wildlife populations in the process.
It can be a dirty process.
By growing our own, harvesting by hand, and localizing the supply chain to our backyards, we can play a big role in helping minimize sugarʻs traditional impact on climate change.
Step By Step: Harvesting Sugarcane At Home
Cut sugar cane with a sharp machete.
It’s important that you cut with a sharp blade to help ease your work. One or two clean chops should do it, otherwise, you’re going to have a very sore shoulder the next morning.
Also, sloppy chops could result in torn, ripped stalks which will inhibit new growth. A nice, clean cut is a good way to prepare for the next round of sugarcane.
Cut a few inches from the ground.
Cut close, but not too close when harvesting your sugarcane. Leave a few inches of the stalk remaining, this will be what the next crop grows from. If you cut too close to the ground, then you risk having to re-plant again, instead of a new growth coming up for next year’s harvest.
Remove some of the ‘trash’.
The dry leaves that fall off of the stalk of the sugarcane are called ‘trash’, and a small amount of this leftover matter is good for your soil. However, too much can be a hindrance to growth, or attract mongoose, snakes and other pests.
Check the condition of the soil.
Sugar cane loves wet soil and sunlight, so make sure the moisture level in the soil is adequate, and that it has plenty of natural sun. If you have too many dry leaves piled up all around, you won’t be able to see the condition of the soil, so make sure to clean up some of your ‘trash’.
This would be a good point in time to spread some compost around the remainder of the sugarcane clump to ensure healthy stalks when they sprout up next season.
Related: Complete Guide To Growing Cassava
Processing Sugarcane For Juice Extraction
If you’re growing sugar cane for juice, you probably need a few non-standard items.
One is a tool that helps to remove the hard, thick stalk. Sure, you could cut it with a knife, but you lose a lot of the inner core, which is where all the sweet juice is at – don’t waste it!
This special sugarcane peeler makes the task of removing the thick stalk easier, and more rewarding, too. In the end, you will find the juice is much sweeter and easier to be pressed with the outer skin removed.
The second item you need is a sugarcane press. And here is where folks in Hawai’i might run into a bit of a problem. If you want to order a sugarcane presser (or juicer) online, you’ll quickly learn that most of them don’t ship to us.
That means that you’re going to have to order for delivery to a trusted friend in the mainland and have them bring it over for you next time they visit.
If you live elsewhere – be thankful for easy shipping and purchase a cane juicer online.
There are also old fashioned (hand-crank) cane juicers, which are more popular in developing countries. If you’re up for the challenge of hand-turning the manual juicers, they are a great off-grid option that doesn’t require any electricity or generator to operate.
In case you were wondering – no, you cannot use a fruit juicer to make cane juice. Sugar cane is very ‘woody’ and is not technically a fruit. You will wind up damaging your regular juicer and waste your homegrown sugarcane, too.
How To Make Sugarcane Syrup At Home
If you cannot get a cane press or sugarcane juicer, there is another option, but you might have to skip the juice and just make sugarcane syrup. Here’s how:
- Cut cane in pieces approximately 2 ft long, for easier handling.
- Remove the thick outer skin (with the special sugarcane peeler, or with a very sharp knife).
- On a clean surface, cut the sweet, juicy pieces into smaller (3 inches or less) ‘bites’ and put into a large pot.
- Fill the pot ⅔ full of sugarcane pieces, then add water until it is about 1 inch over the cane.
- Cover the pot and allow to boil for 60 – 100 minutes, but not longer than 120 minutes (2 hrs).
- You can occasionally ‘mash’ some of the sugarcane pieces to help even more sugar remove easily.
- Strain the water-juice (reserve it all!), and remove the cane pieces (keep those aside, too)
- If your pot has bits of woody cane inside, wipe it out first. Then, return the water-juice back to the pot and set it to boil again.
- Keep boiling down the juice until the water evaporates, and as the mixture boils the bubbles look less watery and more thick and syrupy. Taste it regularly to reach your desired consistency and sweetness.
Related: Growing Jaboticaba In A Permaculture Food Forest
Feeding The Next Generation Of Sugarcane
Sugar cane takes 12 months or more to reach maturity, so make sure to follow my tips above when harvesting to not ‘kill off’ the next generation.
When you are done harvesting, go through your cane field and remove some of the dry, dead leaves and check the soil. Add a layer of fertilizer, or ‘black gold’ from your compost bin to enrich the soil even more and prevent it from drying out.
Notice that in the steps above I mentioned keeping the chopped, crushed cane pieces? These are called ‘pulp’ and they will help the new sugarcane grow, too. Mix the pulp into the soil (but don’t disturb the roots of your cane) and patiently wait another year for your new sugarcane to grow.
Iʻm sure by now youʻre ready to get out there and make some sugar of your own. Just be warned, once you taste some of your own homegrown sugar, you may never want to purchase storebought sugar again!